Chef Dalila
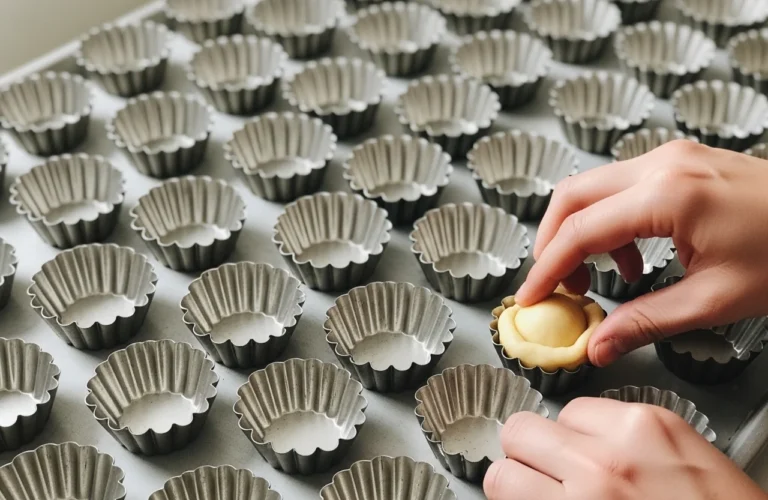
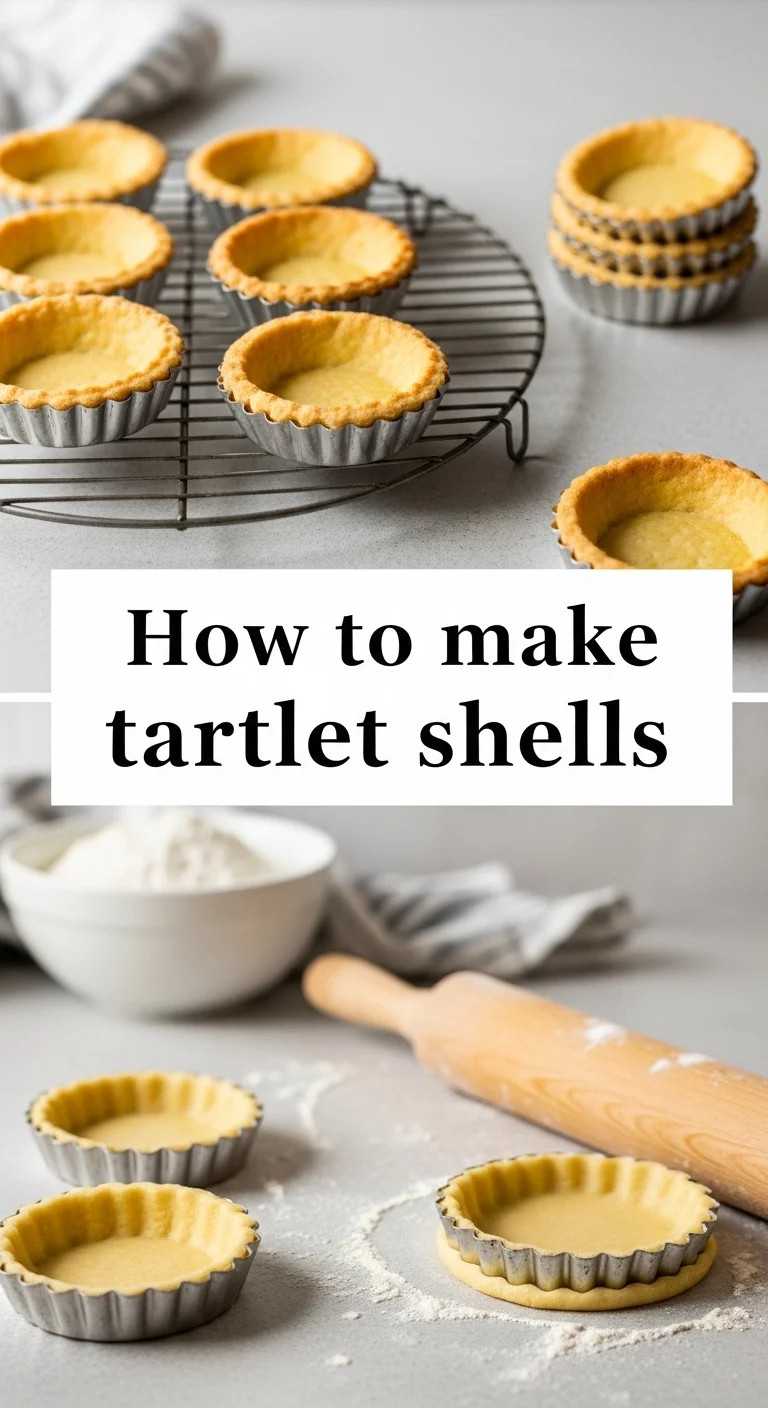
How to make tartlet shells can feel like a culinary Everest, but I promise you, it’s more like a gentle hill walk with the right map. Forget those store-bought, often bland, imposters. We’re about to dive into creating bases that are so good, they’ll make your fillings sing. At Let Them Cooke, we believe a truly exquisite dessert or appetizer starts from the ground up, and that means a phenomenal tartlet shell.
Crafting your own mini pie crusts homemade isn’t just about saving a few bucks; it’s about control over flavor, texture, and that undeniable pride in serving something truly from scratch. Whether you dream of delicate Mini Fruit Tarts With Pastry Cream or robust savory options, mastering how to make tartlet shells is your golden ticket.
What exactly distinguishes a perfect tartlet shell from a mediocre one?
The Snap and the Melt: Texture is King
When you bite into a perfect tartlet shell, you expect a delicate snap followed by a buttery melt-in-your-mouth sensation. This isn’t just wishful thinking; it’s the hallmark of well-executed pastry. A perfect shell should be crisp, never tough or chewy, and certainly not bendy.
Achieving this texture relies on precise ingredient ratios and careful handling of your tartlet dough recipe. Each time you aim to make tartlet shells, remember that flake and tenderness are your guiding stars, a testament to proper fat distribution and minimal gluten development.
Flavor Beyond the Filling: A Subtle Backbone
Many think the shell is just a vessel, but a truly great tartlet shell contributes its own subtle, nuanced flavor. It should enhance, not overpower, the filling. Think of it as the quiet, confident friend who makes everyone around them shine brighter.
This depth comes from quality butter and sometimes a hint of salt or sugar, depending on whether you’re making sweet pastry dough or a savory tartlet bases. Understanding how to make tartlet shells that carry their own weight, flavor-wise, elevates the entire dish.
How to make tartlet shells
Uniformity and Structure: The Eye Eats First
Visually, a perfect tartlet shell boasts uniform thickness and even browning, holding its shape beautifully. No slumping sides, no jagged edges. This aesthetic appeal is crucial because, let’s be honest, we eat with our eyes first.
Properly lining your tartlet molds and pans and mastering the blind baking technique are key to this structural integrity. When you learn how to make tartlet shells with this kind of precision, your guests will be impressed before they even take a bite.
How to make tartlet shells
No Soggy Bottoms: The Ultimate Test
Perhaps the most dreaded culinary faux pas for any tart is a soggy bottom. A perfect tartlet shell stands firm against its filling, maintaining its crispness. This isn’t magic; it’s a direct result of effective blind baking and sometimes a protective layer like chocolate or a brushed egg wash.
Ensuring your tartlet shells are fully baked and properly cooled before filling is paramount. When you master how to make tartlet shells that resist sogginess, you’ve conquered one of the biggest challenges in tart making.
How to make tartlet shells
Which foundational ingredients and specialized tools are indispensable for crafting exquisite tartlet shells?
Butter, Flour, and a Pinch of Patience: Essential Ingredients
To make tartlet shells that truly sing, quality ingredients are non-negotiable. Cold, unsalted butter is your best friend, creating those coveted pockets of steam for flakiness. All-purpose flour is standard, but some prefer a mix with cake flour for extra tenderness. A pinch of salt brightens the flavor, and a touch of sugar (for sweet doughs) helps with browning and tenderness.
These tartlet shell ingredients, simple as they seem, are the building blocks. Always choose the best you can find, as their quality directly impacts your final product when you set out to make tartlet shells.
How to make tartlet shells
Tartlet Molds and Pans: Your Shaping Allies
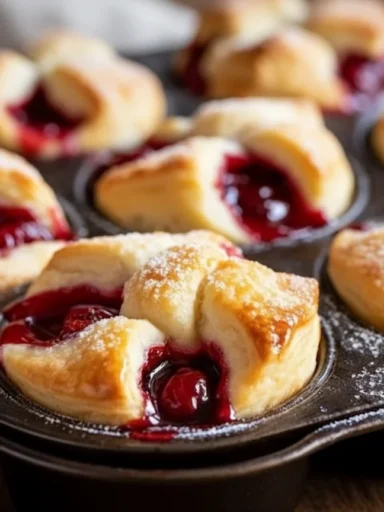
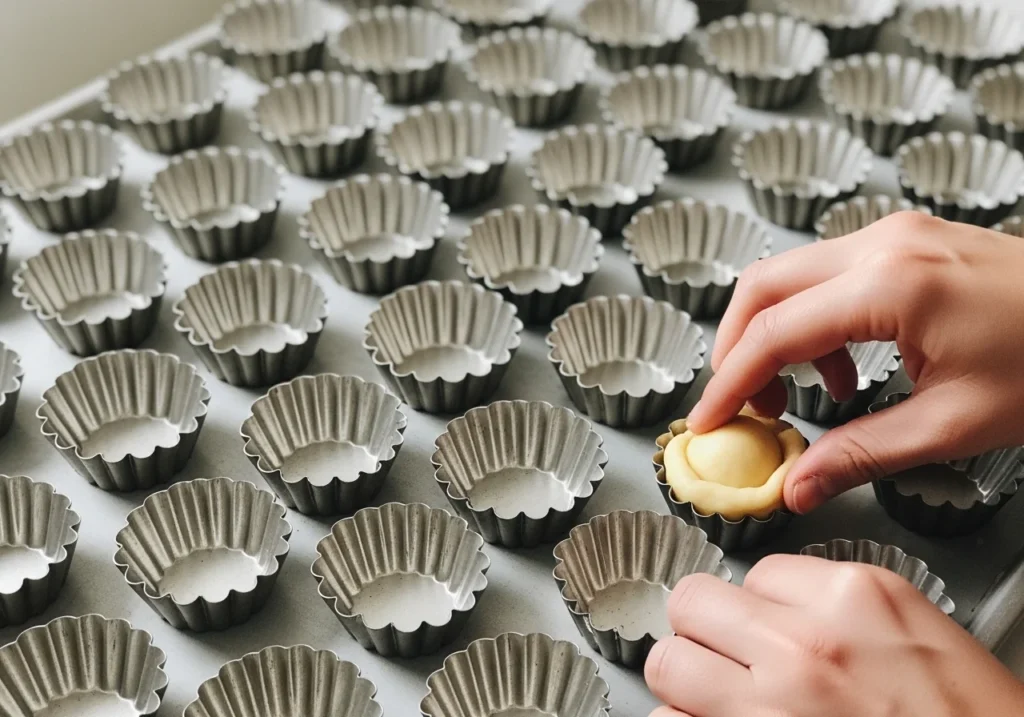
Selecting the right tartlet molds and pans is crucial for perfectly shaped shells. Individual tartlet molds, often with removable bottoms, are ideal for easy demolding. Muffin tins can work in a pinch for HOW TO MAKE MINI TART SHELLS, but dedicated tartlet pans provide better heat distribution and shape.
Having a variety of sizes allows for versatility, whether you’re making tiny bites or slightly larger individual portions. Investing in good quality, non-stick tartlet molds will make the process of how to make tartlet shells much smoother.
The Right Dough: Sweet Pastry or Savory Base
Not all tartlet dough recipes are created equal. A sweet pastry dough typically includes more sugar and sometimes an egg yolk for richness, perfect for desserts like Raisin Butter Tarts or Mini Lemon Meringue Tarts. Savory tartlet bases, on the other hand, are often less sweet, sometimes incorporating herbs or cheeses directly into the dough.
The choice of dough is the first decision you’ll make when you want to make tartlet shells. Consider your filling and occasion to pick the perfect foundation. This thoughtful start ensures your end result is cohesive and delicious.
Blind Baking Essentials: Weights and Parchment
Blind baking is a non-negotiable step for most tartlet shells, preventing puffing and ensuring a crisp bottom. Parchment paper or coffee filters and pie weights (or even dried beans/rice) are indispensable. These weights hold the dough in place, preventing shrinkage and creating a flat surface for your filling.
Without proper blind baking, your efforts to make tartlet shells might result in a doughy, uneven base. This simple step makes all the difference in achieving that professional finish.
What is the step-by-step master technique for rolling, shaping, and blind baking tartlet shells to perfection?
Crafting Your Tartlet Dough Recipe
Start with your chilled tartlet dough recipe. Whether it’s a classic Pâté Sucrée for a Mango Curd Tart Recipe or a simpler shortcrust, ensure your butter is very cold and cut into small pieces. Mix the flour and butter quickly, either by hand or in a food processor, until it resembles coarse meal with pea-sized butter chunks.
Add ice water sparingly, just enough to bring the dough together. Overworking the dough develops gluten, leading to tough shells. Wrap it tightly and chill for at least 30 minutes. This chilling period is vital for a tender final product when you make tartlet shells.
Rolling Out Mini Pie Crusts Homemade Style
On a lightly floured surface, roll out your chilled dough. Aim for an even thickness, usually about 1/8 inch. Too thin, and it’ll be fragile; too thick, and it’ll be heavy. Use a round cutter slightly larger than your tartlet molds to account for the sides.
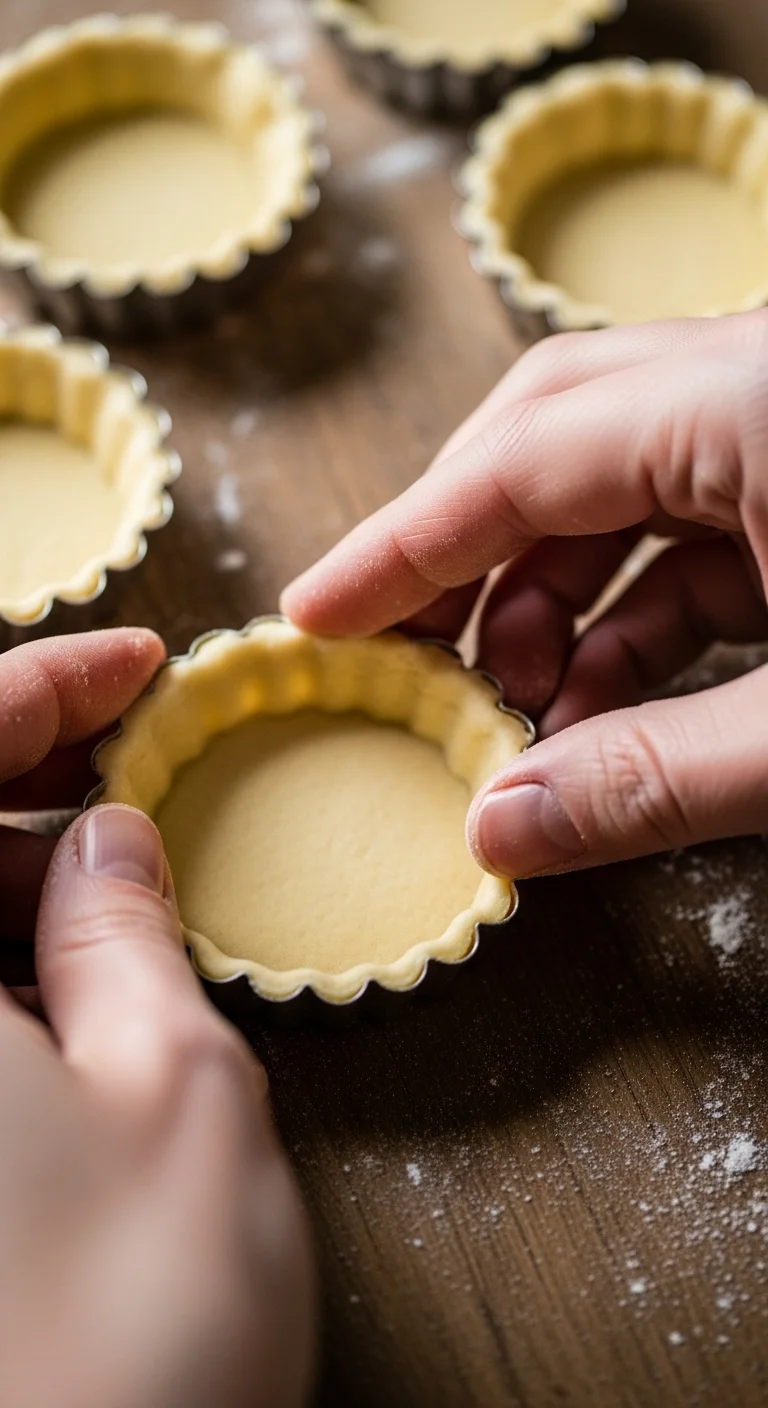
Gently press the dough into each tartlet mold, ensuring it fits snugly into all the crevices. Trim any excess dough with a sharp knife or by rolling your pin over the top of the mold. Don’t stretch the dough, as this can cause shrinkage during baking. This careful shaping is critical for how to make tartlet shells that look as good as they taste.
The Blind Baking Technique Demystified
Once your tartlet shells are shaped in their molds, prick the bottoms with a fork. This prevents air bubbles. Line each shell with parchment paper or foil, then fill with pie weights, dried beans, or rice. Bake in a preheated oven until the edges are set, usually 15-20 minutes.
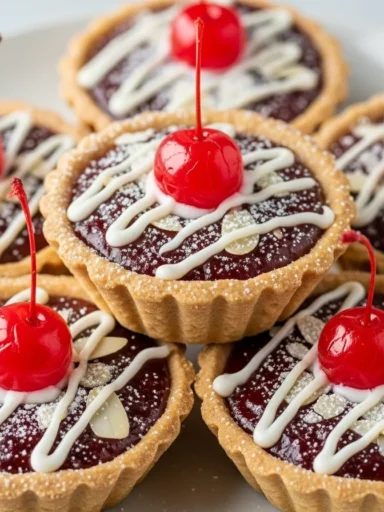
Remove the weights and parchment, then continue baking until the bottoms are golden brown and dry. This two-stage blind baking technique is the secret to preventing soggy bottoms, especially for juicy fillings like in a Cherry Bakewell Tartlets. It’s a fundamental part of how to make tartlet shells correctly.
Cooling and Preparing for Filling
After baking, let your tartlet shells cool completely in their molds on a wire rack. This allows them to firm up and prevents breakage when you remove them. Once cool, gently unmold them. They should pop out easily, especially if you’re using molds with removable bottoms.
Now your perfectly baked shells are ready for whatever delicious destiny awaits them. Whether it’s for a Lemon Tartlets Recipe or a savory quiche, this cooling step is just as important as the baking for how to make tartlet shells that hold their integrity.
How can you troubleshoot common challenges like shrinking, cracking, or soggy tartlet shells?
Combatting Shrinkage: The Rest is Best
Shrinking tartlet shells are a common frustration. The main culprit? Overworking the dough and not chilling it enough. When you knead dough too much, the gluten develops, making it elastic. When baked, this elasticity causes it to retract.
The fix is simple: rest. After mixing, chill your dough for at least 30 minutes, or even overnight. After shaping, chill the lined molds for another 15-30 minutes before blind baking. This allows the gluten to relax, ensuring your efforts to make tartlet shells maintain their shape. As the old saying goes, “Patience is a virtue, especially in pastry.”
Fixing Cracks: A Little Patchwork
Sometimes, cracks appear, especially around the edges or corners. This can happen if the dough is too dry, rolled too thin, or if it’s handled roughly. Don’t despair! A little patchwork can save the day.
Before baking, use a small piece of leftover dough, moistened slightly with a tiny bit of water, to gently press into any cracks. Smooth it out with your finger. If cracks appear after blind baking, a paste of flour and water can sometimes be used for minor repairs before final baking. This trick helps salvage your beautiful work when you make tartlet shells.
How to make tartlet shells
Preventing Soggy Tartlet Shells: Moisture’s Foe
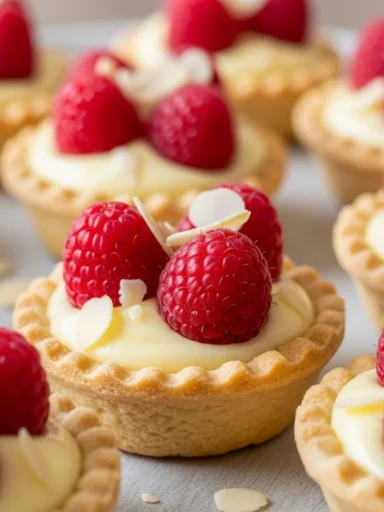
Soggy tartlet shells are often the result of under-baked dough or excessively wet fillings. Ensure your blind baking technique is thorough, baking the shells until they are truly golden and dry, not just pale. For very wet fillings, like those in Raspberry Vanilla Tarts, consider brushing the inside of the cooled shell with a thin layer of melted white chocolate or egg wash before filling.
This creates a barrier against moisture. Also, allow your filling to cool slightly before adding it to the shells. These steps are crucial for how to make tartlet shells that stay crisp and delightful.
How to make tartlet shells
Over-Browning Blues: Temperature Control
If your tartlet shells are browning too quickly, especially the edges, your oven might be too hot or you’re baking them for too long. Keep a close eye on them during blind baking. If you notice excessive browning, gently tent the edges with aluminum foil.
Adjusting your oven temperature for subsequent batches is also a good idea. Every oven is a little different, so getting to know yours is key to mastering how to make tartlet shells perfectly. A consistent, moderate temperature often yields the best results.
How to make tartlet shells
What are the most innovative ways to flavor, fill, and store your homemade tartlet shells for any occasion?
Beyond Vanilla: Infusing Flavor into Your Bases
Don’t let your tartlet shells be a blank canvas. Infuse them with flavor! For sweet pastry dough, consider adding citrus zest (lemon, orange, lime), a pinch of cinnamon, nutmeg, or even finely ground nuts like almond flour. For savory tartlet bases, dried herbs like thyme or rosemary, a touch of smoked paprika, or a sprinkle of Parmesan cheese can transform the entire experience.
Imagine the depth a cocoa-infused shell brings to a chocolate ganache tart, or how black pepper brightens a leek and goat cheese tart. Experimentation is key to making your homemade tartlet shells truly unique. This creative approach elevates how to make tartlet shells from basic to brilliant.
How to make tartlet shells
Filling Fantasies: Sweet and Savory Creations
The world of tartlet fillings is vast and exciting. For sweet options, think beyond the usual custards. Try a rich Mom’s Old Fashioned Butter Tarts, a vibrant fruit curd, or a light mousse. For savory, consider mini quiches, caramelized onion and feta, or even tiny individual pot pies. The beauty of tartlets is their versatility.
Your perfectly crafted tartlet shells are begging for creative pairings. Don’t be afraid to mix and match flavors and textures. The best part of learning how to make tartlet shells is the endless possibilities for what goes inside.
How to make tartlet shells
Storing Your Tartlet Bases for Future Feasts
One of the best things about learning how to make tartlet shells is that you can prepare them ahead of time! Baked, cooled, and empty tartlet shells can be stored in an airtight container at room temperature for 2-3 days, or frozen for up to a month. Layer them carefully with parchment paper to prevent breakage.
Thaw frozen shells at room temperature before filling. This meal-prep friendly approach means you can whip up impressive desserts or appetizers on short notice, making your life easier. Having a stash of these mini pie crusts homemade means you’re always ready for an impromptu gathering or a sudden craving for a How to Make the Best Homemade Fruit Tart.
How to make tartlet shells
Repurposing Leftover Tartlet Shells
Sometimes you end up with extra dough or a few imperfect shells. Don’t throw them away! Leftover dough can be re-rolled for decorative cutouts or small cookies. Imperfect baked shells can be crumbled and used as a topping for yogurt parfaits, ice cream, or even as a crunchy base for a no-bake cheesecake.
Every bit of your effort to make tartlet shells can be utilized. This zero-waste mindset is not only practical but also encourages culinary creativity, turning potential waste into delightful little extras.
How to make tartlet shells
Key Takeaways
- Quality Ingredients Matter: Cold butter and good flour are foundational for a perfect tartlet dough recipe.
- Chilling is Crucial: Rest your dough multiple times to prevent shrinkage and ensure tenderness.
- Master Blind Baking: This technique is non-negotiable for crisp, non-soggy tartlet shells.
- Choose the Right Tools: Tartlet molds and pans with removable bottoms make life much easier.
- Flavor Your Base: Don’t limit your sweet pastry dough or savory tartlet bases to just flour and butter; add zest, herbs, or spices.
- Troubleshoot with Confidence: Shrinkage, cracks, and sogginess are fixable with the right techniques.
- Prep Ahead: Baked tartlet shells store beautifully, allowing for quick assembly later.
Tartlet Shells
Ingredients
Method
- Mix flour and cold butter quickly until it resembles coarse meal with pea-sized butter chunks.
- Add salt and sugar (if using), then add ice water gradually until the dough comes together.
- Wrap the dough tightly in plastic wrap and chill in the refrigerator for at least 30 minutes.
- On a lightly floured surface, roll out the dough to 1/8 inch thick.
- Use a round cutter to cut out circles slightly larger than your tartlet molds.
- Press the dough into the molds and trim any excess.
- Preheat the oven to 375°F (190°C). Prick the bottom of each shell with a fork.
- Line each shell with parchment paper and fill with pie weights or dried beans.
- Bake for 15-20 minutes, then remove weights and parchment and bake until golden brown and dry.
- Let the shells cool completely in the molds before gently removing them.
- Store baked shells in an airtight container at room temperature for 2-3 days or freeze for up to 1 month.