Chef Dalila
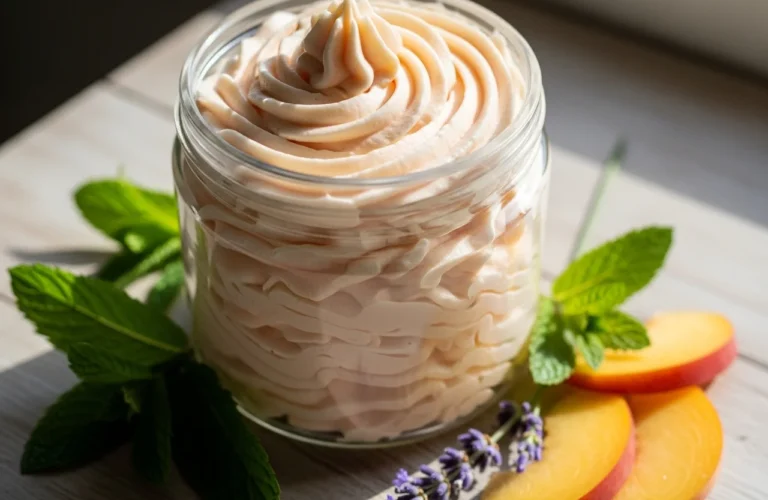
Homemade Body Butter is a game-changer for anyone looking to ditch chemicals and embrace truly nourishing skincare. If you’ve ever felt that sticky residue from a store-bought lotion or wondered exactly what mysterious ingredients were sinking into your skin, you’re not alone.
Here at Let Them Cooke, we believe in taking control of what we put on our bodies, just like we do with what goes into our bellies. Making your own luscious, whipped body butter isn’t just a fun DIY project; it’s a step towards radiant, healthy skin that feels as good as it looks.
Why should you choose homemade body butter over store-bought alternatives?
#### The Hidden Truth About Commercial Lotions
Many commercial lotions and creams, while convenient, often contain a cocktail of synthetic fragrances, parabens, phthalates, and other questionable ingredients. These can irritate sensitive skin, disrupt hormones, and even contribute to long-term health concerns. When you make homemade body butter, you skip all those nasties entirely.
Sure, they might smell amazing on the shelf, but that potent scent often comes from artificial perfumes that offer no benefit to your skin. Opting for homemade body butter means you’re in charge of every single ingredient, ensuring pure goodness.
Tailored Goodness for Your Unique Skin
Imagine a moisturizer crafted specifically for your skin’s needs – whether it’s battling dryness, soothing irritation, or fighting signs of aging. That’s the beauty of homemade body butter. You can customize the butters, oils, and essential oils to create a blend that perfectly suits you, something a mass-produced product simply can’t offer.
This level of personalization is truly empowering. You become the artisan of your own skincare, ensuring your homemade body butter delivers exactly what your skin craves, without compromise.
Cost-Effective Luxury and Peace of Mind
High-quality, natural skin moisturizers can come with a hefty price tag. Crafting your own homemade body butter allows you to enjoy luxurious, organic body care ingredients at a fraction of the cost. A little goes a long way with these potent DIY body cream recipes.
Beyond the savings, there’s an immense peace of mind that comes from knowing exactly what you’re applying. Every jar of homemade body butter is a testament to your commitment to natural health and wellbeing, free from hidden additives.
Environmental Impact and Sustainable Choices
Choosing to make homemade body butter also means you’re reducing your environmental footprint. You can opt for ethically sourced, organic ingredients and reuse your containers, cutting down on plastic waste often associated with store-bought products. It’s a win-win for you and the planet.
“The best ingredients are often the simplest ones, found right in nature,” says a wise old herbalist. This philosophy rings true when creating your own homemade body butter, making it a truly sustainable choice.
What essential ingredients do you need to craft your own luxurious body butter?
The Foundation: Rich Butters (Shea, Cocoa, Mango)
The heart of any good homemade body butter lies in its butters. Shea butter benefits are legendary; it’s deeply moisturizing and boasts anti-inflammatory properties. Cocoa butter offers a rich chocolatey aroma and incredible skin elasticity. Mango butter is lighter, non-greasy, and packed with vitamins. You can mix and match these to create your perfect base.
Each of these butters brings its own unique texture and benefits, forming the luxurious foundation for your homemade body butter. Consider organic body care ingredients for the best results.
Liquid Gold: Carrier Oils for Nourishment
Carrier oils complement your butters, adding a silky texture and extra nourishment. Think sweet almond oil, jojoba oil (great for all skin types), coconut oil, or even a touch of argan oil. They help thin out the butters and deliver vitamins and antioxidants deep into your skin. These are vital for any DIY body cream recipes.
Choosing the right carrier oil is key to the consistency and feel of your finished homemade body butter. Experiment to find your favorite blend, ensuring it absorbs beautifully into your skin.
Aromatic Magic: Essential Oils for Skincare
Here’s where your homemade body butter truly comes alive! Essential oils for skincare not only provide delightful scents but also offer therapeutic benefits. Lavender soothes, frankincense rejuvenates, and tea tree oil can help with blemishes. Always dilute them properly.
Remember to choose high-quality, pure essential oils for your homemade body butter. A little goes a long way in transforming the aroma and enhancing the skin-loving properties of your blend.
Optional Boosters: Vitamin E and Arrowroot Powder
Want to give your homemade body butter an extra kick? Add a few drops of Vitamin E oil, a powerful antioxidant that helps preserve the butter and nourish your skin. A teaspoon of arrowroot powder can reduce any greasy feel, leaving a silky-smooth finish. These are simple additions that elevate your DIY body cream recipes.
These boosters aren’t strictly necessary, but they can truly refine the texture and longevity of your homemade body butter, making it feel even more professional and effective.
How can you easily whip up a perfect batch of homemade body butter in just a few steps?
Gathering Your Tools and Prepping Ingredients
First things first, gather your tools: a heat-safe bowl, a saucepan for a double boiler, an electric mixer (handheld or stand), and clean jars. Measure out your chosen butters and oils. Precision is your friend when making homemade body butter.
Having everything ready before you start makes the process smooth and enjoyable. This preparation ensures your whipped body butter techniques are executed flawlessly from the get-go.
The Double Boiler Method: Melting to Perfection
Set up your double boiler: a heat-safe bowl over a saucepan with simmering water (don’t let the water touch the bottom of the bowl). Add your solid butters first, letting them gently melt. Once mostly melted, add your carrier oils. Stir until everything is fully liquid and combined. This gentle heat preserves the integrity of your homemade body butter.
Avoid direct heat, which can damage the delicate properties of your organic body care ingredients. Patience here ensures a smooth, consistent base for your homemade body butter.
The Chill-Down and Whipping Transformation
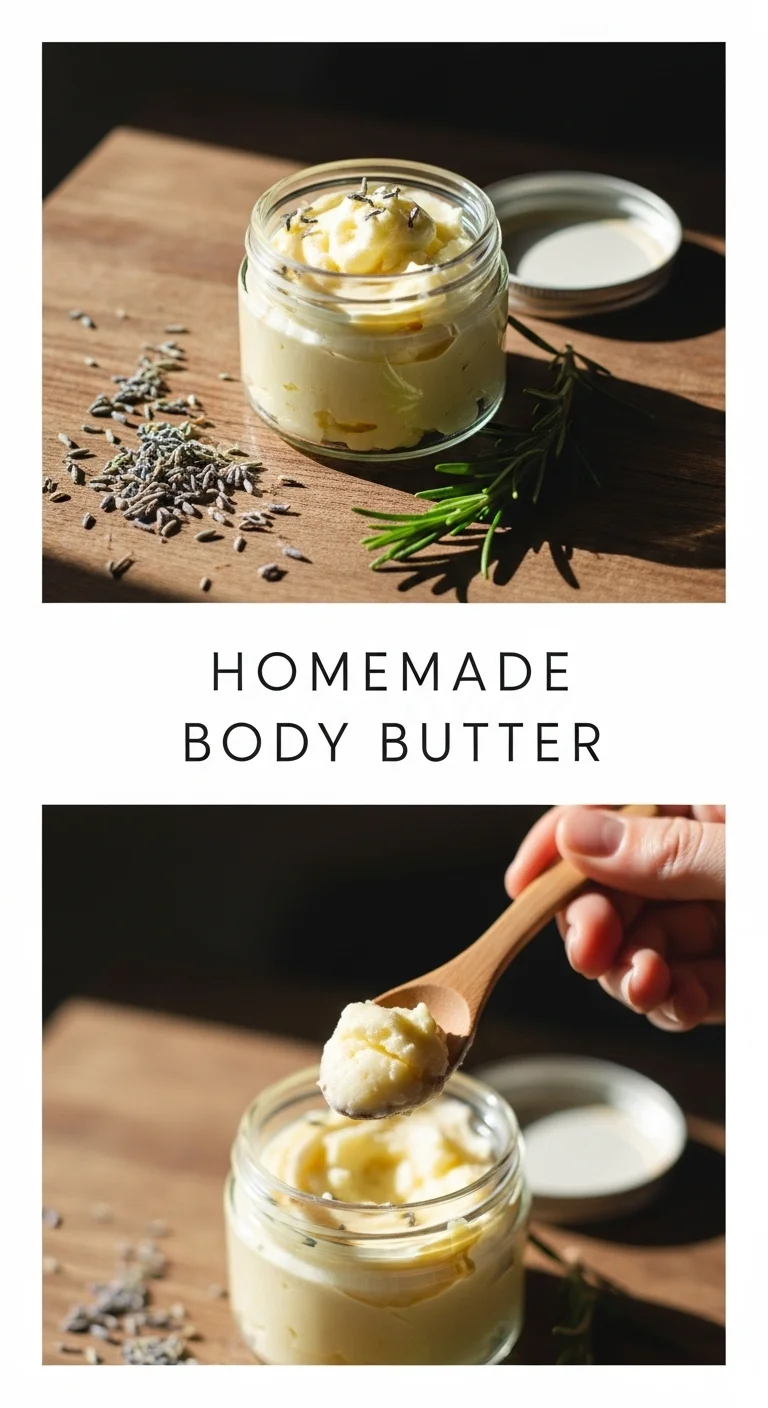
Once melted, remove the bowl from heat and let it cool. You want it to be firm but still soft enough to whip – think softened butter. This usually takes an hour or two in the fridge, or longer at room temperature. Once cooled, it’s time for the magic: whip it with your electric mixer until it’s light, fluffy, and resembles whipped cream. This is the essence of whipped body butter techniques.
This transformation from liquid to airy cloud is incredibly satisfying. Your homemade body butter will gain volume and a luxurious texture that glides onto the skin.
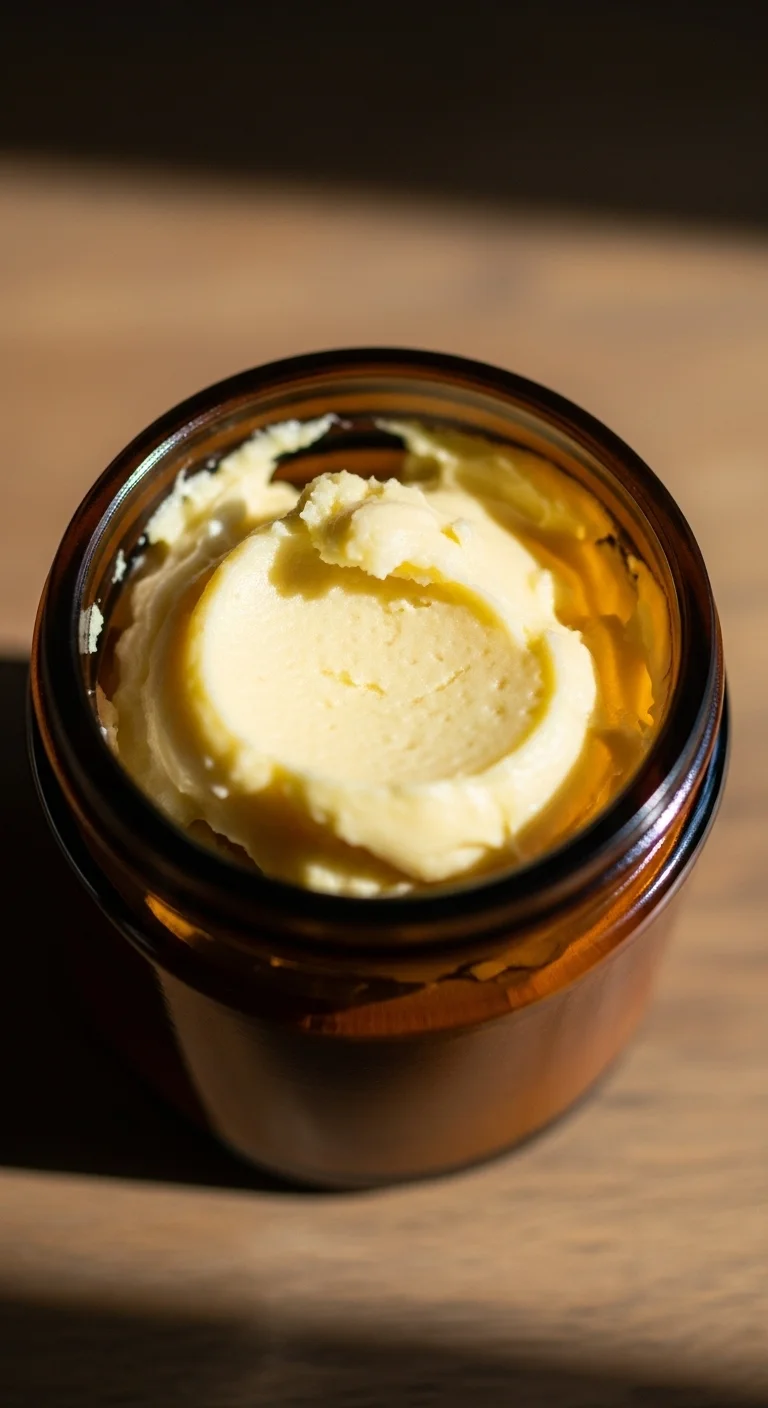
Packaging Your Homemade Body Butter Masterpiece
Carefully spoon your fluffy homemade body butter into clean, airtight jars. Mason jars or amber glass jars work wonderfully. Label them with the date and ingredients, especially if you’re making different blends. Now, you have a beautiful, personalized product ready to nourish your skin. [Internal Link: natural skin care tips]
Proper packaging is crucial for maintaining the freshness and potency of your homemade body butter. It also makes for a lovely gift, showcasing your DIY body cream recipes.
Which natural additions can elevate your body butter for specific skin types and aromatic experiences?
Soothing Solutions for Sensitive Skin
For sensitive skin, less is often more. Opt for gentle butters like shea or mango, and mild carrier oils like jojoba or calendula-infused oil. Essential oils for skincare like lavender or chamomile are excellent choices for their calming properties. Always do a patch test first with any new homemade body butter blend.
These gentle choices ensure your homemade body butter provides comfort without irritation, making it perfect for delicate complexions.
Invigorating Blends for Dry or Mature Skin
If your skin needs a serious hydration boost, lean into heavier butters like cocoa and rich carrier oils such as avocado or rosehip. Frankincense, myrrh, and geranium essential oils are fantastic for promoting skin elasticity and reducing the appearance of fine lines. These DIY body cream recipes can work wonders.
This robust homemade body butter is designed to deeply nourish and revitalize, giving dry or mature skin a much-needed drink and a youthful glow.
Crafting Your Signature Scent with Essential Oils
This is where your inner perfumer comes out! Blend essential oils for skincare like uplifting citrus (orange, grapefruit), grounding woods (sandalwood, cedarwood), or floral notes (rose, ylang-ylang). Always research safe dilution rates and combinations. Your homemade body butter can smell exactly how you envision it.
Creating a unique aroma for your homemade body butter is one of the most enjoyable parts of the process. It transforms a simple moisturizer into a personal sensory experience. For more ideas on essential oil blends, check out [External Link: essential oil blending guide].
Adding a Touch of Sparkle (Optional)
For a touch of glam, you can add a tiny pinch of cosmetic-grade mica powder to your homemade body butter during the whipping phase. This gives your skin a subtle, healthy shimmer, perfect for a night out or just feeling extra special. Remember, a very small amount is all you need.
This optional addition transforms your homemade body butter into a shimmering treat, adding a playful element to your organic body care ingredients routine.
How do you properly store your homemade body butter to maximize its shelf life and potency?
Choosing the Right Containers
Glass jars with tight-fitting lids are your best friend for storing homemade body butter. They prevent air and moisture from getting in, which can degrade the quality of your product. Dark amber or cobalt blue glass can also help protect light-sensitive ingredients, though it’s less critical for body butter than for some other DIY skincare.
Proper containers are essential for preserving the freshness and efficacy of your homemade body butter, ensuring every application is as potent as the first.
The Cool, Dark Place Rule
Heat and light are the enemies of homemade body butter. Store your jars in a cool, dark place – a cupboard, drawer, or even the fridge during warmer months. This prevents the butters from melting and re-solidifying, which can create a grainy texture (though it doesn’t affect potency). This simple rule extends the life of your natural skin moisturizers.
Following this storage advice ensures your homemade body butter maintains its beautiful whipped consistency and active properties for longer.
Recognizing When It’s Time for a New Batch
Homemade body butter typically lasts 6-12 months, depending on the ingredients and storage. Trust your senses: if it smells off, changes color significantly, or develops mold, it’s time to toss it and whip up a fresh batch. Freshness is key for optimal organic body care ingredients benefits.
Don’t be afraid to replace your homemade body butter when in doubt. It’s a small price to pay for ensuring your skin receives only the best, most potent nourishment.
Hygiene Habits for Longevity
Always use clean hands or a small spatula to scoop out your homemade body butter. Introducing water or contaminants can shorten its shelf life. Think of it like cooking – cleanliness prevents spoilage. Good hygiene ensures your DIY body cream recipes remain pristine.
These simple habits go a long way in ensuring your homemade body butter stays fresh and effective, giving you maximum enjoyment from your handcrafted creation.
Key Takeaways:
- Homemade Body Butter offers superior nourishment without harsh chemicals.
- You control organic body care ingredients, tailoring blends for specific needs.
- Essential butters and carrier oils form a rich, moisturizing base.
- Whipped body butter techniques are simple and create a luxurious texture.
- Essential oils for skincare add aroma and therapeutic benefits.
- Proper storage in cool, dark places extends the homemade body butter shelf life.
Homemade Body Butter
Ingredients
Method
- Gather your tools: heat-safe bowl, saucepan for a double boiler, electric mixer, and clean jars.
- Measure out your chosen butters and oils. Precision is key.
- Set up your double boiler: place a heat-safe bowl over simmering water without letting the water touch the bowl.
- Add solid butters first and let them melt gently. Once mostly melted, add the carrier oils.
- Stir until fully liquid and combined.
- Remove the bowl from heat and let it cool until firm but soft enough to whip.
- Whip the mixture with your electric mixer until light and fluffy.
- Spoon your fluffy homemade body butter into clean, airtight jars.
- Label them with the date and ingredients.