Chef Dalila
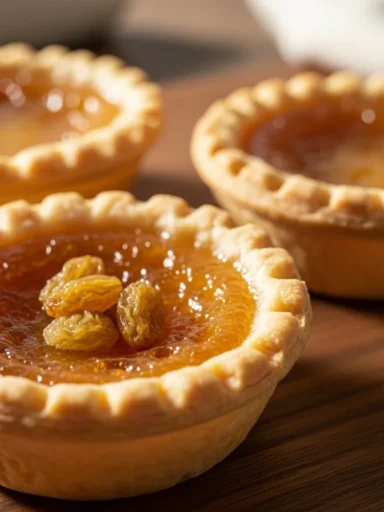
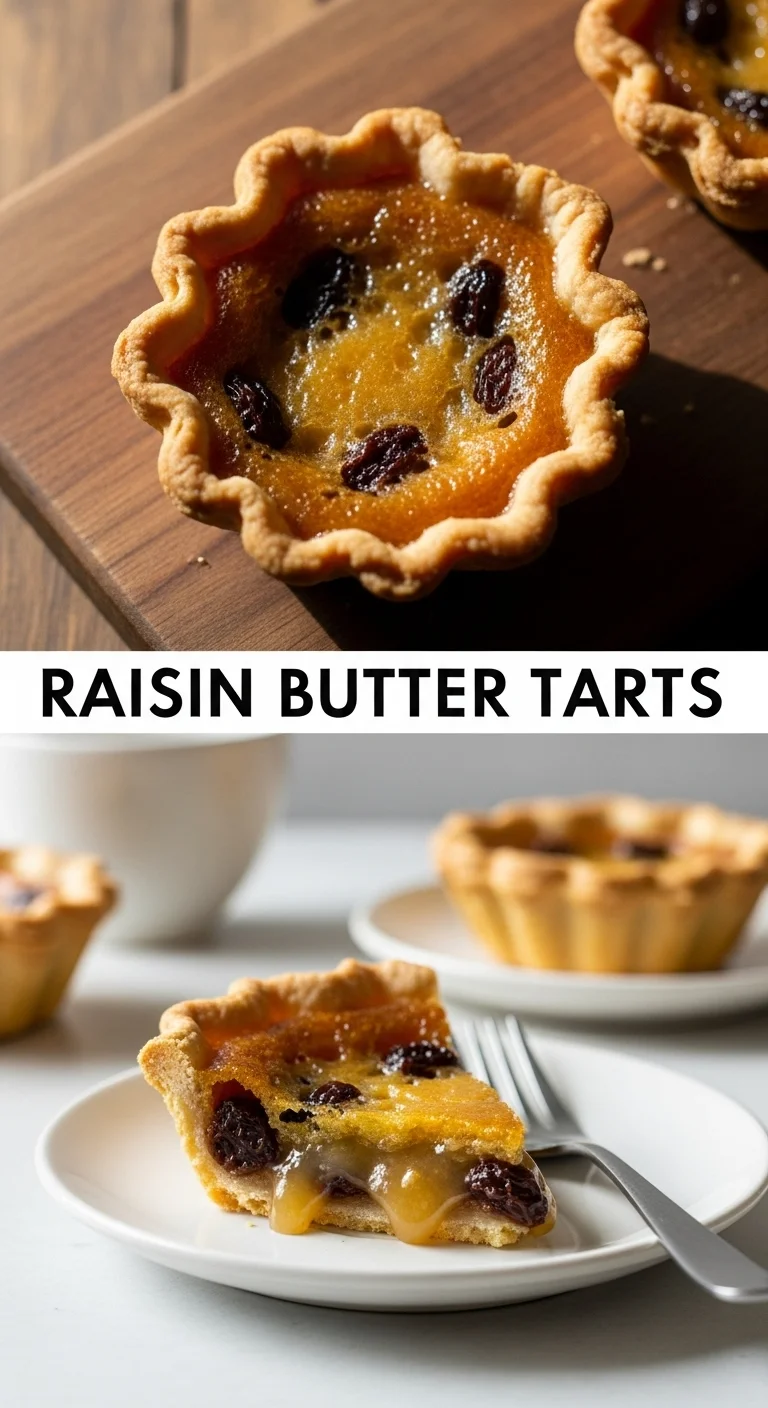
Raisin Butter Tarts are more than just a dessert; they’re a hug in pastry form, a bite of Canadian heritage that transports you straight to Grandma’s kitchen. Here at letthemcooke.com, we believe every baker deserves to master these golden delights.
You’re about to discover the secrets to baking Raisin Butter Tarts that boast a crust so flaky it practically sighs and a sweet raisin filling that truly sings. Forget the dry, crumbly imposters; we’re chasing that perfect, gooey center and tender pastry with these Raisin Butter Tarts.
What is the rich history behind the iconic Raisin Butter Tart?
A Sweet Canadian Legacy
Raisin Butter Tarts hold a special place in Canadian hearts, a true national treasure that has evolved over centuries. This classic butter tart recipe isn’t just a dessert; it’s a culinary marker, telling tales of early settlers making do with simple, readily available ingredients. When you bite into a Raisin Butter Tart, you’re tasting history.
From Pioneer Kitchens to National Treasure
The origins of Raisin Butter Tarts are often traced back to the late 19th and early 20th centuries in Ontario, Canada. Early recipes show up in community cookbooks, reflecting the resourcefulness of pioneer women who turned basic pantry staples into something extraordinary. These homemade tart tips have been passed down through generations, perfecting the art of Raisin Butter Tarts.
“A good butter tart is a testament to simple ingredients coming together in perfect harmony – a true taste of Canada.”
The Great Raisin Debate
Ah, the age-old question: raisins or no raisins? While some prefer their butter tarts plain, the Raisin Butter Tarts are arguably the most classic and beloved variation. The plump, sweet raisins add a delightful chewiness and an extra layer of flavor to the already luscious sweet raisin filling. It’s a debate that sparks friendly arguments at every Canadian family gathering, but for many, the raisin is non-negotiable in their Raisin Butter Tarts.
What are the indispensable ingredients and techniques for a truly flaky crust and luscious filling?
Cold Butter is Your Best Friend
For a truly flaky pastry dough, the secret weapon is ice-cold butter. Cut it into small cubes and work it quickly into your flour mixture, either by hand or with a pastry blender. This ensures little pockets of butter remain, which steam and puff up during baking, creating that coveted flaky texture in your Raisin Butter Tarts. It’s the foundation for any exceptional tart, whether you’re making Mini Fruit Tarts With Pastry Cream or these delightful Raisin Butter Tarts.
Crafting the Sweet Raisin Filling
The heart of any Raisin Butter Tarts lies in its filling. Our sweet raisin filling combines brown sugar, corn syrup (or maple syrup for a richer flavor), eggs, and a touch of vanilla. The key is to melt the butter gently and combine everything until smooth, ensuring no grainy sugar bits. Don’t forget to plump your raisins first by soaking them in hot water or a splash of rum for extra juiciness before adding them to your Raisin Butter Tarts.
Mastering the Custard Tart Techniques
Baking perfect tarts, especially those with a custard-like filling, requires a delicate touch. You want the edges of your pastry to be golden and crisp, while the center of the sweet raisin filling sets just enough to be gooey but not runny. Overbaking is the enemy of a luscious Raisin Butter Tart. Keep an eye on them; they should have a slight jiggle in the very center when you pull them from the oven, much like a perfect Mango Curd Tart Recipe.
The Right Tart Shells Make All the Difference
Whether you’re tackling HOW TO MAKE MINI TART SHELLS from scratch or using store-bought, the quality of your tart shells impacts the final Raisin Butter Tarts. Aim for thin, even shells that can hold the rich filling without becoming soggy. For the best result, blind bake your shells for a few minutes before filling. This little trick works wonders for all kinds of tarts, from How to make tartlet shells to our beloved Raisin Butter Tarts.
How do you troubleshoot common baking challenges to achieve perfect Raisin Butter Tarts every time?
Preventing Soggy Bottoms and Overflowing Fillings
Nobody wants a soggy bottom on their Raisin Butter Tarts! To prevent this, blind baking your flaky pastry dough is crucial. Prick the bottom with a fork, line with parchment, fill with pie weights, and bake until lightly golden. As for overflowing filling, resist the urge to overfill your tart shells. Leave a little room for the filling to puff up. This ensures your Raisin Butter Tarts look as good as they taste.
Crust Crumbles? We’ve Got Solutions!
If your flaky pastry dough is too dry, it can crack and crumble when you try to roll it out. The fix? Add ice water a teaspoon at a time until the dough just comes together. Don’t overmix! Overworking the dough develops gluten, leading to a tough crust instead of the tender, melt-in-your-mouth experience we want for our Raisin Butter Tarts. This applies to Mini Lemon Meringue Tarts too!
Achieving that Signature Gooey Center
The hallmark of truly perfect Raisin Butter Tarts is that irresistible gooey center. The key here is not to overbake. As mentioned, pull them out when the edges are set and golden, but the very center still has a slight jiggle. The residual heat will continue to cook them as they cool, leading to that coveted soft, slightly runny middle. It’s a delicate balance, but one worth mastering for your homemade tart tips.
What creative variations can elevate your Raisin Butter Tarts beyond the classic recipe?
Nutty Twists and Spice Surprises
While the classic butter tart recipe is perfect, a little experimentation never hurt anyone! Try adding a sprinkle of chopped pecans or walnuts to your Raisin Butter Tarts for an extra crunch. A pinch of cinnamon or nutmeg in the sweet raisin filling can also add a warm, inviting spice note. These small additions can elevate your Raisin Butter Tarts without straying too far from tradition, just like adding almonds to Cherry Bakewell Tartlets.
Boozy Bites and Citrus Zest
For an adult twist, soak your raisins in a splash of rum, brandy, or even a fruit liqueur before adding them to the filling. A little orange or lemon zest grated into the custard tart techniques can brighten the flavors beautifully, offering a zingy counterpoint to the sweetness. Imagine the delight of a boozy, zesty Raisin Butter Tart!
Seasonal Raisin Butter Tart Sensations
Think seasonally! In the fall, a touch of pumpkin spice or a drizzle of maple syrup can transform your Raisin Butter Tarts. During summer, perhaps a few fresh berries could be added (though ensure they don’t make the filling too watery). The beauty of the Raisin Butter Tart is its versatility, allowing for endless creative interpretations while keeping its comforting essence.
What are the best practices for storing and serving your homemade Raisin Butter Tarts for maximum enjoyment?
Keeping Your Tarts Fresh and Flaky
Once cooled, store your Raisin Butter Tarts in an airtight container at room temperature for up to 2-3 days. For longer storage, they freeze beautifully for up to a month. Thaw them gently in the refrigerator and then bring them to room temperature or warm slightly before serving to restore their flaky pastry dough and gooey filling. Proper storage is key to enjoying your Raisin Butter Tarts later.
The Perfect Serving Temperature
Many argue that Raisin Butter Tarts are best enjoyed at room temperature, allowing the complex flavors of the sweet raisin filling to shine and the crust to retain its crispness. However, a gently warmed tart, perhaps for 10-15 minutes in a low oven, can bring out an extra level of comfort, making the filling even gooier. Experiment to find your perfect preference for these delightful Raisin Butter Tarts, whether it’s like a warm Lemon Tartlets Recipe or a cool treat.
Pairing Your Raisin Butter Tarts
Raisin Butter Tarts pair wonderfully with a strong cup of coffee or a steaming mug of tea. For a decadent dessert, serve them alongside a scoop of vanilla bean ice cream or a dollop of freshly whipped cream. The richness of the tart complements these simple additions perfectly, much like a Raspberry Vanilla Tarts would pair with cream. It’s the ultimate end to any meal, celebrating the joy of baking perfect tarts, like Mom’s Old Fashioned Butter Tarts or even How to Make the Best Homemade Fruit Tart.
Key Takeaways
- Embrace Canadian Heritage: Raisin Butter Tarts are a historical treat, with the raisin adding a traditional, beloved chewiness.
- Cold Butter is Crucial: For a truly flaky pastry dough, always use ice-cold butter and avoid overworking the dough.
- Master the Gooey Filling: Don’t overbake! A slight jiggle in the center ensures that signature luscious, sweet raisin filling.
- Troubleshoot Smart: Blind baking prevents soggy bottoms, and proper hydration in the dough avoids crumbling crusts.
- Experiment with Flavors: While classic, don’t shy away from adding nuts, spices, or a hint of citrus to your Raisin Butter Tarts.
- Store Properly: Keep your homemade Raisin Butter Tarts fresh in an airtight container or freeze for later enjoyment.
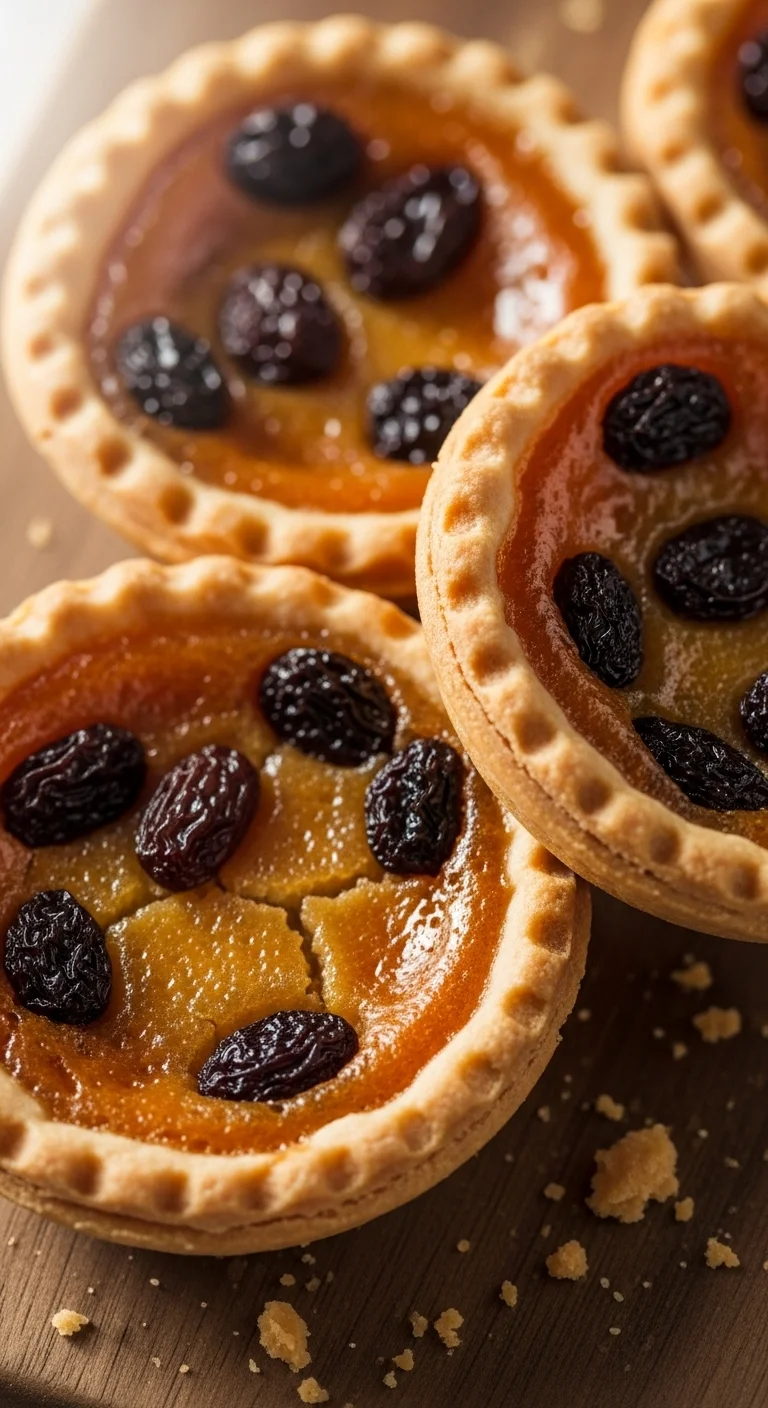
Raisin Butter Tarts
Ingredients
Method
- In a mixing bowl, combine flour and cold butter, working it quickly until it resembles coarse crumbs.
- Add ice water gradually, mixing until a dough forms. Do not overwork the dough.
- Chill the dough in the refrigerator for 30 minutes.
- Preheat the oven to 350°F (175°C) and roll out the dough to fit tart pans.
- Blind bake the shells for 10-15 minutes until lightly golden.
- In a saucepan, melt the butter gently.
- Combine melted butter with brown sugar, corn syrup, beaten eggs, and vanilla extract, mixing until smooth.
- Fold in the soaked raisins.
- Pour the filling into the blind-baked tart shells, leaving a little room for the filling to puff up.
- Bake in the preheated oven for 20-25 minutes until the edges are set but the center still jiggles slightly.
- Allow to cool before serving.